How to Turn an Image into an Oil Painting Online

ImageToOilPainting Team
4/24/2026
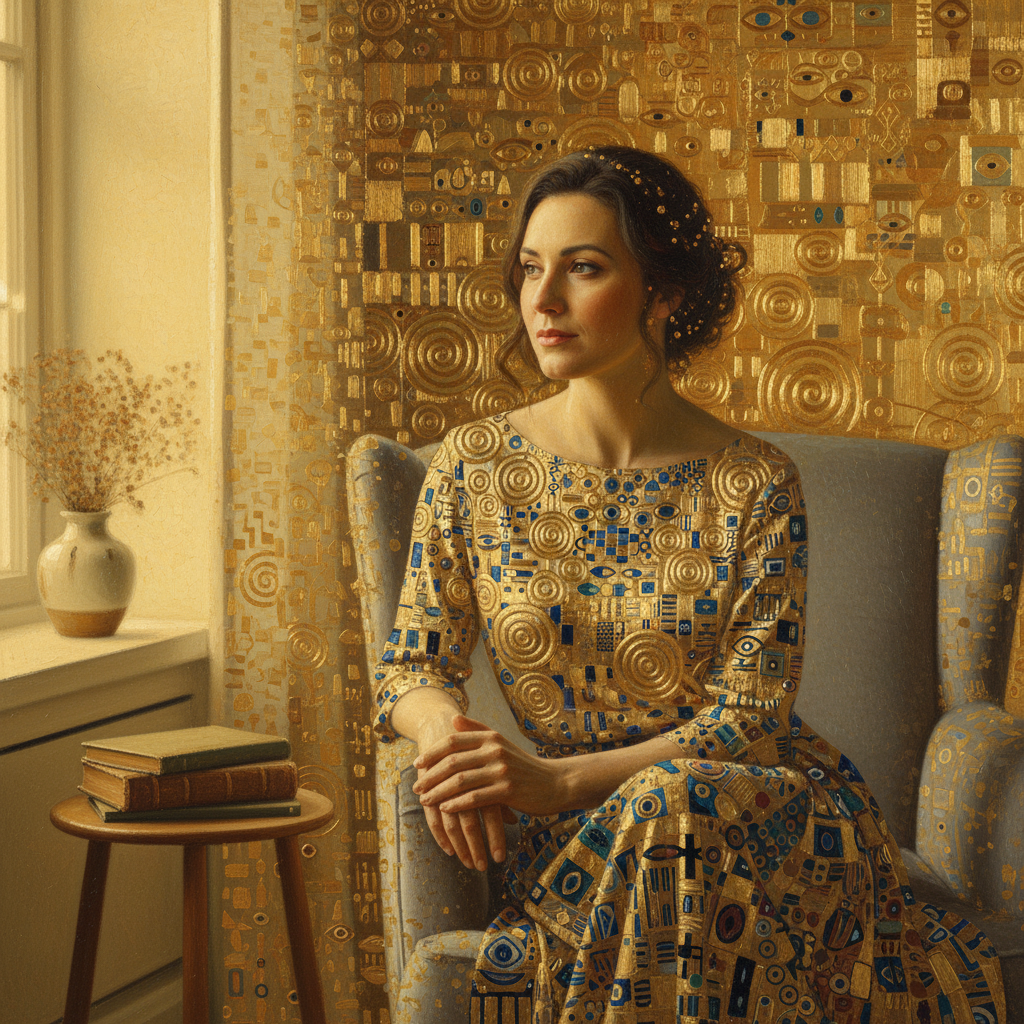
Turning a plain photo into an oil painting is much easier than it used to be. You no longer need Photoshop actions, painterly brushes, or hours of manual retouching. A focused image to oil painting workflow can do the heavy lifting for you in minutes.
If your goal is simple, the process is:
- Start with a clear source image.
- Use an oil-painting-specific AI tool.
- Choose an output that keeps brush texture, depth, and natural lighting.
- Refine with one more pass if the first result feels too soft or too filter-like.
If you want to try the workflow immediately, open the image to oil painting generator and upload a photo. You can also browse real examples first to see what kinds of inputs work best.
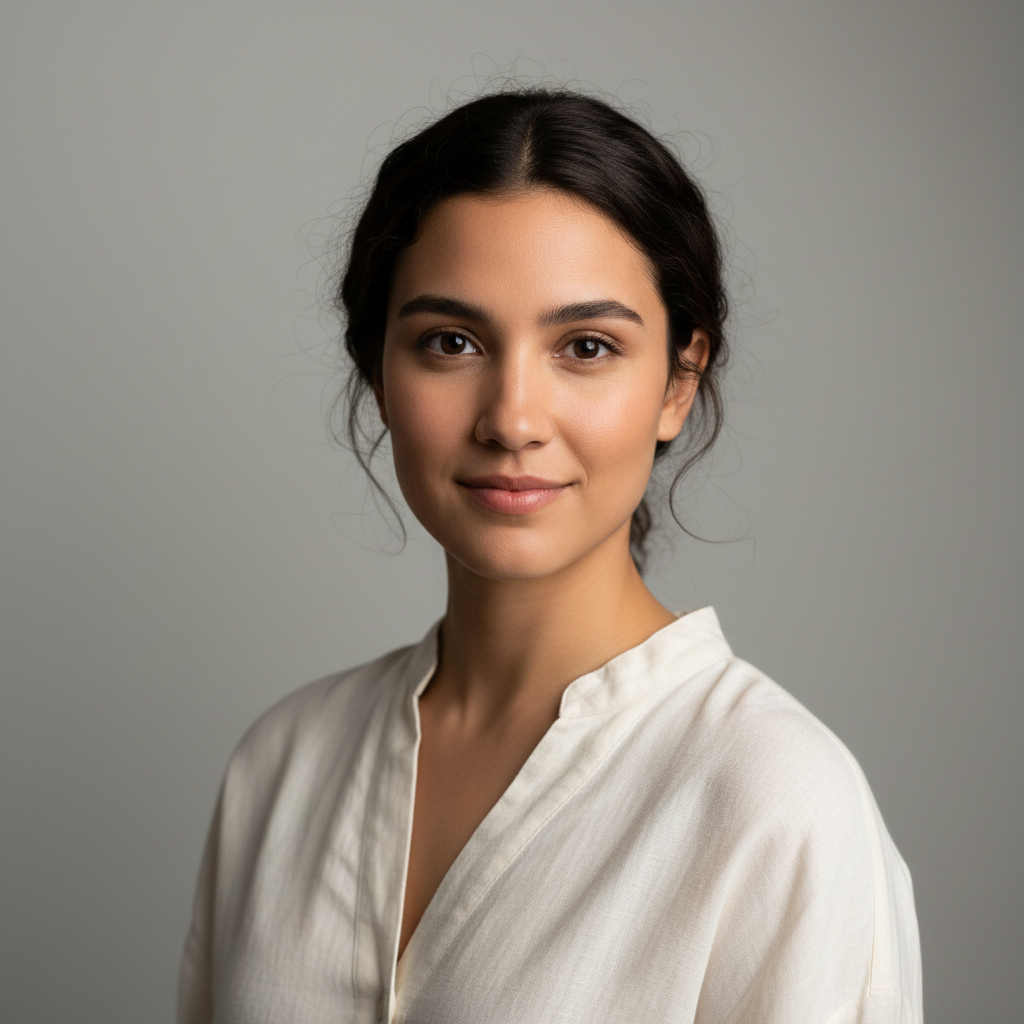
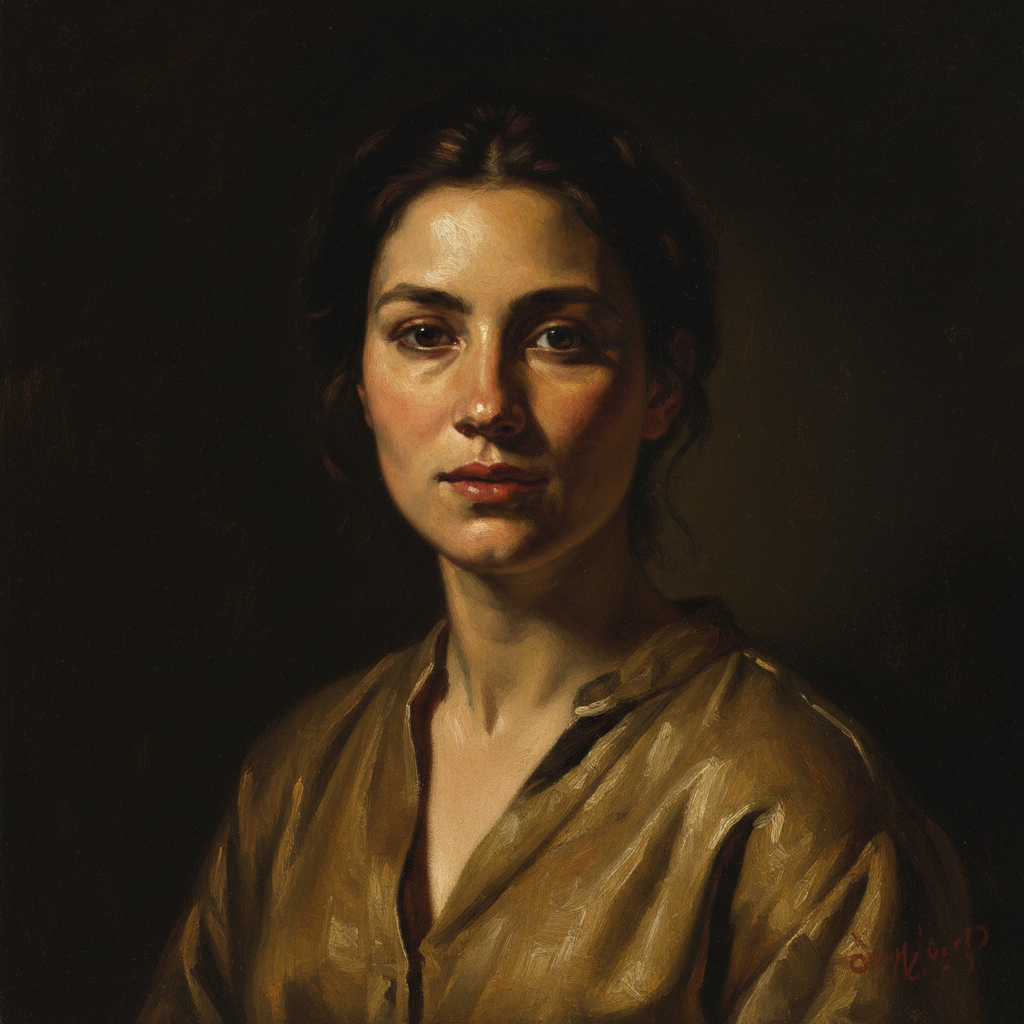
A before-and-after example showing how a clear portrait can translate into a more painterly oil painting result.
What Kind of Image Works Best?
The strongest results usually come from photos that already have:
- a clear main subject
- decent lighting
- visible separation between subject and background
- enough resolution to preserve texture
Portraits, pets, travel photos, interiors, and landscapes can all work well. The weakest results usually come from:
- blurry phone shots
- heavily compressed screenshots
- images with multiple competing subjects
- extreme shadows that hide facial detail
Step-by-Step: Turn an Image into an Oil Painting
1. Pick a Good Source Photo
Choose a photo where the main subject is easy to understand at a glance. For portraits, that usually means the face is visible and not blocked by sunglasses, motion blur, or heavy backlight. For landscapes, it helps if the composition already has a strong focal point.
2. Upload the Image
Upload the original file rather than a screenshot or social-media-resized copy. Better input usually leads to richer brush texture and cleaner edges.
3. Aim for a Painterly Result, Not a Generic Filter
The best oil painting output should look like:
- visible brushwork
- blended color transitions
- a sense of depth and material
- lighting that still fits the original image
If the result feels like a cheap filter, it usually means the tool is smoothing the image instead of translating it into painterly structure.
4. Choose a Subject That Fits Oil Painting Style
Oil painting works especially well for:
- portraits
- couple photos
- family photos
- pet portraits
- landscapes
- floral still lifes
These subjects already map well to classical painted composition.
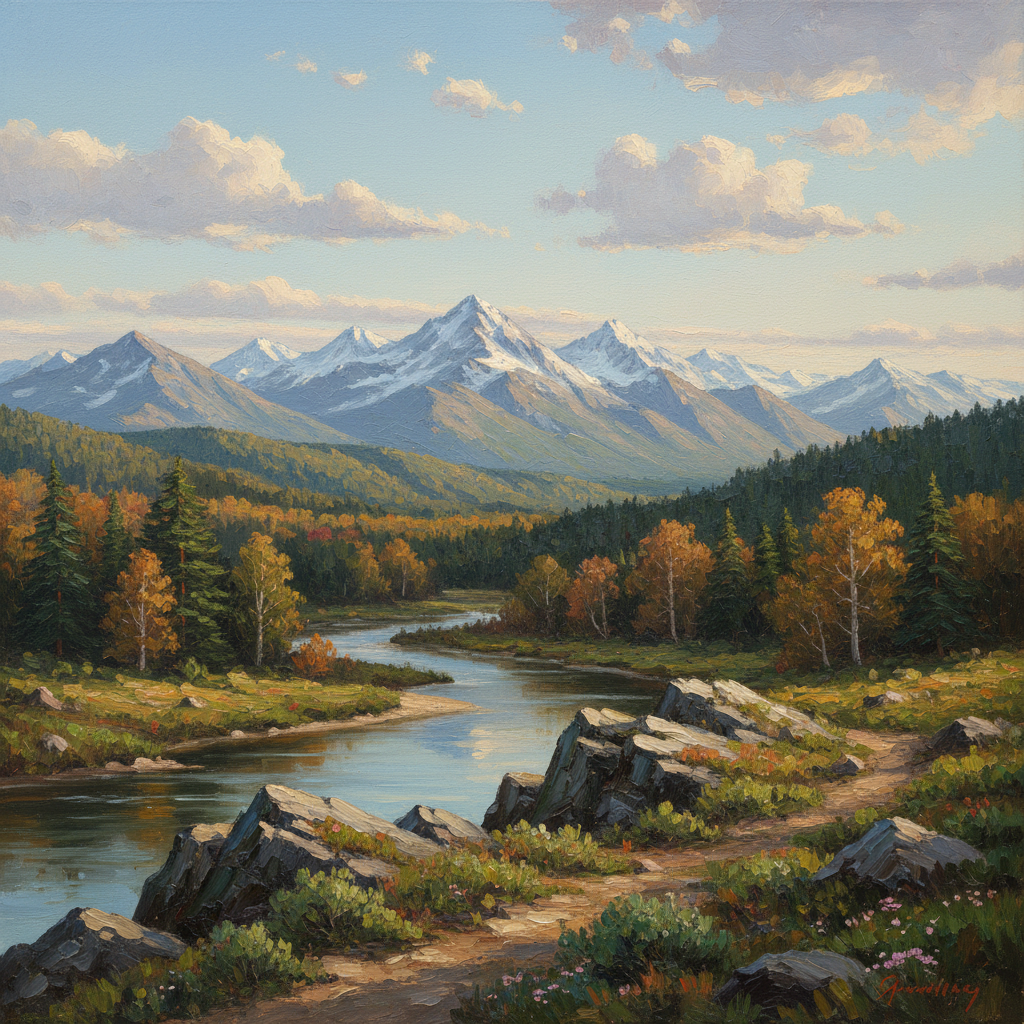
Landscapes also work well when the original scene already has depth, separation, and a clear focal point.
5. Review the First Result and Regenerate if Needed
A first output can be usable, but a second pass is often better if you need:
- stronger brush texture
- cleaner faces
- more dramatic light and shadow
- a more classical painted mood
Common Mistakes
Using a Weak Photo
If the input is noisy, tiny, or poorly lit, the output usually looks muddy. Oil painting style is forgiving, but it still depends on usable source detail.
Expecting Every Image to Work the Same Way
A close-up portrait and a wide landscape do not need the same treatment. Portraits benefit from preserving facial structure. Landscapes benefit from color layering and atmosphere.
Overvaluing Hyper-Detail
Oil paintings are not supposed to keep every photographic micro-detail. The goal is painterly structure, not perfect photorealism.
Why Use an AI Oil Painting Tool Instead of Editing by Hand?
Manual workflows can still work, but most people want a faster path from photo to finished art. A focused tool is usually better when you want:
- speed
- consistency
- multiple variations
- a result that already feels like painted art
That is the main advantage of using a dedicated image to oil painting generator instead of building the effect from scratch in a general editor.
Best Use Cases
People usually turn an image into an oil painting for one of these reasons:
- wall art from personal photos
- artistic profile pictures
- gifts for family or partners
- pet portraits
- before-and-after marketing visuals
If you want to see the kind of outputs that fit these cases, the examples page is the fastest reference point.
Final Take
If you want to turn an image into an oil painting, the biggest variables are still the same: source quality, subject clarity, and whether the tool produces real painterly texture instead of a generic effect.
Start with a clean photo, keep the composition simple, and use a workflow designed specifically for oil painting results. For most people, that is enough to get from ordinary image to finished artwork in a few minutes.
Try it on the homepage generator or compare outputs on the examples page.